A New Review for a New Year~

Hello there! 😀 I know it’s been a while, but I’d really like to share with you a product that I recently got to test out…a magnifying lamp from a company called Brightech. They’re a family based business out of California that is really turning heads for their style and innovation in lighting.  Here’s what they have to say about themselves:

An L.A.-based family company, Brightech focuses on innovative yet affordable lighting. From edgy, science-fiction-inspired floor lamps to retro-chic stylings to more traditional aesthetics, Brightech has something to illuminate your home and workspace. Seeking soft, warm, cool, or vivid tones? They’re here.

Brightech emphasizes the energy-saving power of LED. Via embedded LED lights in lamp fixtures or in our own LED bulb that replaces and surpasses incandescent bulbs in brightness and efficiency, we champion LED technology and encourage our customers to embrace the future.

Indoors or outdoors, Brightech lights the way… Our catalog includes several strands of mood-setting string lights that will transform your backyard into a bistro! And we’re proud to feature an array of adjustable magnifier lamps – diopter-lens lamps that make small print readable again for anyone with aging eyes or macular degeneration.

Brightech: Infusing the color of light into every room of your life.


Brightech Rolling LampDid you catch that bit about the “array of adjustable magnifier lamps”?  I don’t know about you, but as the days turn into years, lol, I’ve been having more and more difficulty with those tiny little details that, as a crafter, are so important to see clearly.  I’d been contemplating investing in some kind of help with that when Brightech contacted me about their own line of magnifier lamps. Well, how serendipitous! I jumped at the opportunity and soon, the LightView Rolling Base LED Magnifier Lamp was headed its way to my door! 😀

First impressions:  This lamp was packed really well!  Lots of form-molded Styrofoam to keep it protected on its journey.  But, boy was this box heavy!  If you order this one, make sure to have help lifting it, because it is a handful. Whew!  Assembly was really quick and easy and the parts look sturdy…not out of plastic that can wear down fairly quickly.

The main part that made the box heavy was the rolling base.  I was worried that with the adjustments that this lamp is supposed to have, the base might have the tendency to tip when fully extended. Since receiving it, I have definitely put it through its paces and haven’t had it tip even a little bit.  I do have to say that the rolling base is a bit hard to maneuver over carpeting. If you have wooden, or some other smooth flooring, it would be a breeze to move from place to place, but I tend to just pick it up carefully to move across the carpet. It’s just easier. 😉

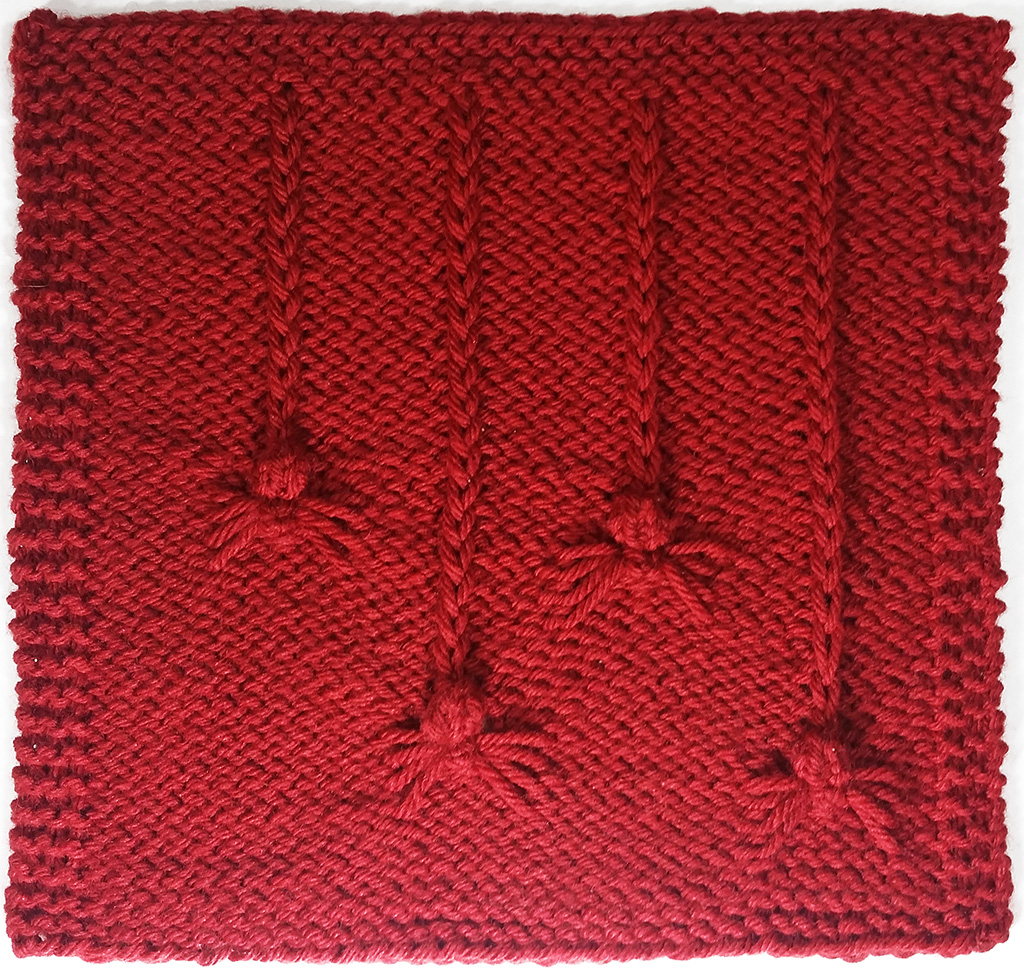
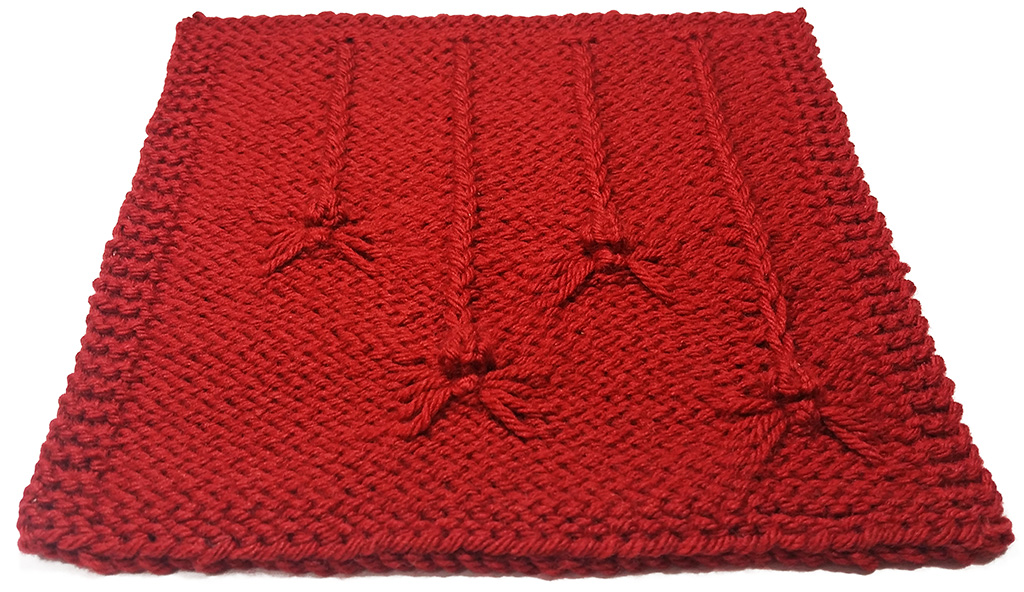
The reason I chose this particular lamp was it’s capability of controlling the temperature of the light itself. I have Ott Lights that I use regularly and do love them, but tend to need to use them in a room that is away from my husband, lol. He is not a fan of the bright white light. I wanted to have a lamp that I could really make use of and not have him bothered by me using it in the same room. I am so happy to tell you that this feature works fantastically!  He isn’t bothered at all!  You can adjust the level of brightness of both of the amber and the white lights and get it just the way you need it. I tend to keep it on the lowest level and, along with the magnifier, have absolutely no trouble seeing what I’m working on, even in a darkened room, with the darkest of yarns. It’s a tad tough to see in the photos below, but in real life, the difference between the color temperatures is dramatic!

The magnifying ability is just right. I can see all those teensy details that were steadily losing their clarity to a never-better degree! I can’t tell you how happy I am about this! I find myself wanting to use this lamp for everything, lol. The first time I sat down to knit under it, I told Evan that I didn’t think I could do without that thing from then on, haha! It has been so gratifying to be able to finally see without strain…Whew!

I have used this lamp successfully in these circumstances:

  1. Knitting (of course this is number one on the list, lol).
  2. Hand sewing.
  3. Machine sewing.
  4. As a desk lamp.
  5. Product photography.
  6. *As a makeup lamp.

My hubby was actually the first to get to try it out, because at the time, I hadn’t been able to sit down to do any crafting yet.  So, he pulled it up to his desk and used it for typing and drawing. This is saying a lot folks, because remember how sensitive he is to lights that he finds at all irritating? He just won’t use them. But, this I had to actually move away from his desk myself before it became a permanent fixture, haha! 😉

I have managed to use this light comfortably in the following places:

  1. Low chair.
  2. Office chair.
  3. Recliner.
  4. High bed.

The thing really does adjust nicely to pretty much every situation without much trouble. The only thing I would caution you about is that it is fairly bulky…at the base, as well as the fact that the light is always a bit bent at an angle, so it can’t be stored straight up and down. So, if you are needing to save space, or have tight quarters, another smaller version like this one might be the one for you. 🙂

* Make up application: I really wanted to see if I could use this for putting my make up on in the morning. I came to the conclusion that although the lamp used for the light itself was fantastic for accurate application, the magnifying features just weren’t quite right to use for this purpose.

So, I am really pleased to tell you that I’m pretty in love with this lamp!  I am going to seriously be thinking of future gifts for my family…they can obviously get a lot of use out of these!

If you *do* decide to purchase one of these amazing lights from Brightech, I do have an affiliate link here:  spread the lighted love by using this link! 😉

Thanks for listening to a fellow crafter’s experience with a new-to-her product. I hope that you have a bright future in the New Year! (pun absolutely intended, haha!)

Bethany~

PS: I did, as you probably have already deciphered for yourselves, lol, receive a lamp in return for my honest opinion from using said lamp. All the statements above (except the quoted bits) are all my own and not coerced, contrived, or paid for in any way (except by said lamp). I’m sure that if I couldn’t stand the lamp, I could have said so and been done with it, but instead, I really truly have fallen in love with it! ❤

Posted in Crafting, Knitting, Loom Knitting, My Favorites, Product Review | Tagged , , , , , , , | 2 Comments

Spooky Spider Mitts!

After publishing the tutorial on how to make the Dangling Spider Stitch, I knew I just had to create a fingerless mitts pattern that featured one sproingy, skulking spider on the hands of each mitt. Well, I am pleased to announce that I succeeded! 😀

This slideshow requires JavaScript.

These babies are so warm and cozy and the fit is really nice.  It can be adjusted lengthwise for differing sized hands, too. I probably could have used just a few additional rows between the hand and wrist joins, which is noted in the pattern so that you can adjust if you so choose. 😉 I have a little bit larger hands…not giant, lol…just not as small as other hands I’ve compared mine to.

Anyway…these are pretty easy to make and all the instructions are spelled out as clearly as I could make them…especially with the tutorial videos from the last post ready to view as needed. You should actually be able to whip up a pair before handing out candy to all those hungry goblins on Halloween night! 😀

Because I know this is a tad late to be releasing a Halloween themed design, I am happy to let you snatch this project at half off from now until the clock strikes midnight on Halloween!  If you don’t have time to whip up a pair this year, at least you’ll have the pattern ready to go for the spooky season 2018! 😉  To receive the discount, simply place the pattern in your Ravelry cart and it will show up auto-magically.

spiders-banner

Happy Haunting!

Bethany~

Posted in Holidays, Loom Knitting, Looming Patterns, New Projects, Peggin' Pages, Project Preview, Ravelry, Spiders, Spooky Things | Tagged , , , , , , , , , | Leave a comment

Dangling Spiders for the Loom!

Some of you out there may remember that I have had a recurring battle fascination with spiders.  It all started when we lived in a house that was a veritable highway bypass for aggressive house spiders, a breed of spiders that make you want to don the strongest of armor and go into battle, scouring every inch for those suckers before you feel any sort of relief.  My own relief came when we actually moved from that house, lol.  Welllllll, not quite, as I’m sure we took some hitchhikers along with us and we still to this day find some of these guys roaming the garage, or occasionally, the house.

Spiders, singleI’m not so paranoid now, though.  I’ve learned how to deal with their inevitable autumn re-occurrence. Part of that process has been exploring how to make them seem cute by having their yarnie counterparts dangling around near Halloween, or by learning all I can about identifying them (there’s power in knowledge, right? lol).

Well, I haven’t stopped my therapy, haha! I had been planning on doing a post all about making bobbles for Stitchology at the KB Blog and I ended up having a dream one night about how to make those bobbles into spiders.  It’s a pretty good idea, too!  Sometimes my crazy brain does things like that in my sleep, lol. Anyway…the very next day I spotted this from Kitterly and my mind went zinging with the possibilities!  It wasn’t my dream bobble idea (which I still want to do!), but it was so so cute, and still involved bobbles, so of course I had to figure out a similar loomy version.  *Please note that I did not look at the pattern at all, just figured out my own method of making these types of spiders after having looked at the picture for inspiration. 😉  I do highly recommend trying the Kitterly pattern for those needle knitters out there who need a little spider therapy of their own. 🙂

So, without further preamble, here are the instructions to make the repeating stitch pattern, the 8″ x 8″ square (for those of you following along during Stitchology 😉 ), and a couple videos thrown in for good measure!  Happy Spooky Looming!

Dangling Spider Stitch for Knitting Looms

by Bethany Dailey, October 2017

Spiders, top with spooky light

Special Stitch Instructions

When the pattern uses the term “knit” or “k”, please use the true knit stitch or the u-stitch, not the e-wrap, unless otherwise stated.

Abbreviations

K,k: knit

P,p: purl

KO: knit off (lift bottom loop(s) over top loop and completely over the top of the peg)

WY: working yarn

HH: half hitch (create a loop with WY by twisting in opposite way than when making an EW and place on peg. The WY will be coming from underneath the twist rather than on top.)

rep: repeat.

EW: e-wrap stitch.

S1, s1: slip one stitch (don’t work the stitch, simply skip this peg, and carry the working yarn behind peg to the back of the work.)

(SWYF) x5 directly translates to: Slip With Working Yarn in Front 5 times. This simply means that the next 5 pegs will not be worked, but will have the working yarn (WY) carried to the front of the work.  To do this, simply remove the loop already on the peg, slip the WY in front of the work and behind the peg, then replace the held loop back onto the peg. Repeat for the next 4 pegs in line.

*Note: another easy way to work a SWYF is to begin to work a purl stitch, but instead of lifting the original loop off the peg and placing the new loop on the peg as you do when purling, simply KO the new loop, leaving the original one in place.  Pull gently to free the WY, which will now be between the peg and the front of the work.


Steps to Create a Bobble (Bobbles can be worked going in either direction on the loom…Simply number the bobble pegs 1-3 in the order they are worked in the first bobble step.):

Step 1: k3

Step 2: move the loop from peg 1 to peg 2. Move the loop from peg 3 also to peg 2. KO 2 loops over 1 on peg 2.

Step 3: HH onto peg 3, k peg 2, HH onto peg 1.

Step 4: (k3) repeat 3 times, will end on peg 3.

Step 5: move the loop from peg 1 to peg 2. Move the loop from peg 3 also to peg 2. KO 2 loops over 1 on peg 2.

Step 6: reach down at the back side of the work and pull up the 3 loops from the base of the bobble that were knit in Step 1 and place them back onto pegs 1-3.

Step 7: WY will be coming from peg 2. K peg 3.  Continue with remainder of row.

Step 8: Knit next row of pattern, KO 2 loops over 1 on peg 2 of bobble.

Video for making a Bobble for your easy reference:


Chart Key for Repeating Pattern Rows

 Chart Key, Dangling Spiders

Dangling Spider Repeating Pattern Rows

Dangling Spiders Stitch

To work this pattern in the round, such as for a hat, use the Repeating Pattern Rows chart, and make sure to read it from right to left for each row, rather than alternating sides each time. Also, cast onto your loom in a clockwise direction, using a number of pegs that is divisible by 7—the number of stitches required for each pattern repeat.

Working as a flat panel (Cast on from left to right/counter clockwise a number divisible by 7. Begin 1st Row from right to left/clockwise):

Rows 1-7: Repeat the following 2 row pattern:

Row A:*p1, (SWYF) x 5, p1, rep from * to end.

Row B: purl all sts.

Row 8:

Peg by peg breakdown:

Pegs 1-3: purl.

Peg 4:

  • Temporarily remove the loop from peg 4 and hold.
  • Carefully pull up all 4 strands of yarn travelling across the front of the work up onto peg 4 in order.
  • Replace the held loop. There will now be 5 loops on peg 4, but ignore the 4 pulled up strands for now.
  • EW peg 4 and KO the 2nd loop only (while ignoring the other 4). Repeat 2 more times to create a tiny bobble.
  • Reach down at the back side of the work and pull up the loop from the stitch just below the first EW stitch and place it back onto peg 4. KO.
  • KO the 4 pulled up loops.

Pegs 5-7:  purl.

Row 9: p2, create bobble, p2.

Row 10: p3, KO 2 over 1 on peg 4, p3.

Rows 11-16:  Repeat the following 2 row pattern:

Row C: p3, s1, p3.

Row D: p3, EW1, p3.

Rows 11-16+: Repeat Rows as desired for length of spider web.

Video for the above Repeating Pattern Rows:


Dangling Spiders Square

Dangling Spiders Square

Work as a flat panel (Cast on from left to right/counter clockwise a total of 39 pegs. Begin 1st Row from right to left/clockwise):

Rows 1-4: Repeat the following 2 row pattern:

Row A: knit all sts.

Row B: purl all sts

Row 5: k3, p33, k3.

Row 6: purl all sts.

Row 7: k3, p2, (SWYF) x 5, p26, k3.

Row 8: purl all sts.

Row 9: Repeat Row 7.

Row 10: p15, (SWYF) x 5, p19.

Row 11: Repeat Row 7.

Row 12: Repeat Row 10.

Row 13: Repeat Row 7.

Row 14: p15, (SWYF) x 5, p11…

Peg 8 Breakdown:

  • Temporarily remove the loop from peg 8 and hold.
  • Carefully pull up all 4 strands of yarn travelling across the front of the work up onto peg 8 in order.
  • Replace the held loop. There will now be 5 loops on peg 8, but ignore the 4 pulled up strands for now.
  • EW peg 8 and KO the 2nd loop only (while ignoring the other 4). Repeat 2 more times to create a tiny bobble.
  • Reach down at the back side of the work and pull up the loop from the stitch just below the first EW stitch and place it back onto peg 8. KO.
  • KO the 4 pulled up loops.

…finish Row 14 with: p7.

Row 15: k3, p3, create bobble, p27, k3.

Row 16: Repeat Row 10, KO 2 over 1 on peg 8.

Row 17: k3, p4, s1, p13, repeat peg 8’s breakdown in Row 14 on peg 22, p14, k3.

Row 18: p16, create bobble, p12, EW1, p7.

Row 19: k3, p4, s1, p13, KO 2 over 1 on peg 22, p14, k3.

Row 20: p17, s1, p13, EW1, p7.

Row 21: k3, p4, s1, p13, EW1, p14, k3.

Row 22: Repeat Row 20.

Spiders, angleRow 23: k3, p4, s1, p4, (SWYF) x 5, p4, EW1, p14, k3.

Row 24: Repeat Row 20.

Row 25: Repeat Row 23.

Row 26: p8, (SWYF) x 5, p4, s1, p13, EW1, p7.

Row 27: Repeat Row 23.

Row 28: Repeat Row 26.

Row 29: Repeat Row 23.

Row 30: p8, (SWYF) x 5, p4, s1, p6, repeat peg 8’s breakdown in Row 14 on peg 15, p6, EW1, p7.

Row 31: k3, p4, s1, p5, create bobble, p5, EW1, p14, k3.

Row 32: Repeat Row 26, KO 2 over 1 on peg 15.

Row 33: k3, p4, s1, p6, s1, p6, EW1, p6, repeat peg 8’s breakdown in Row 14 on peg 29, p7, k3.

Row 34: p9, create bobble, p5, s1, p6, EW1, p6, EW1, p7.

Row 35: k3, p4, s1, p6, s1, p6, EW1, p6, KO 2 over 1 on peg 29, p7, k3.

Rows 36-57: Repeat the following 2 row pattern:

Row C: p10, s1, p6, s1, p6, EW1, p6, EW1, p7.

Row D: k3, p4, s1, p6, s1, p6, EW1, p6, EW1, p7, k3.

Rows 58-62: Repeat the following 2 row pattern:

Row E: purl all sts.

Row F: knit all sts

BO all stitches.  Weave in ends close to work and block to an 8”x 8” measurement.

Have questions or comments?  Please feel free to leave a message for Bethany in the comments below.

Posted in Free Loom Patterns, Knitting, Loom Knitting, Looming Patterns, New Projects, Spiders, Spooky Things, Stitchology, Tutorials | Tagged , , , , , , , , , , , , , | 10 Comments