
You might possibly have heard about the newest craze hitting the loom knitting world… that of super chunky knits made on a loom with pegs as large as three fingers put together! Yes, it’s the Zippy Loom! 🙂

Recently, I’ve been getting to know my Zippys well and I have to say that it’s a pretty fun way to knit. I have always loved a really bulky knit to squish between my fingers and be super cozy in, and this is just the ticket to make that happen. Sweater weather is upon us, after all! 😉
Because it’s a very large gauge, your projects knit up in record time, too! 
Here’s the intro and specs on the Zippy Loom:
Peg size: .75″ diameter
Gauge: .75 stitches = 1″ of knit
Peg spacing: approx. 1.5″ center to center of pegs
Size: 5.25″ x 3″ Easy to hold in one hand.
Each Zippy comes with a connector to attach to more Zippys. With one Zippy you can create approx. 3″ width of knitting. For wider scarves, 2 Zippys work great. For shawls, 3 Zippys are recommended.
- 1 Zippy (5.25″ x 3″)
- 1 connector
- step by step instructions
- knitting tool
{The Zippy pegs are .75″ diameter, with 1.5″ peg spacing center to center. Peg height is 2.5″}
***Please Note! In my experience, as with any yarnie craft, the gauge you’ll end up with is determined by how snug your knitting tension is. I have done some projects where I have intentionally used a tighter tension, and have therefore needed more Zippys in a line. Please see my Pumpkin Placemats as a good example of this.
____________________________________________________________
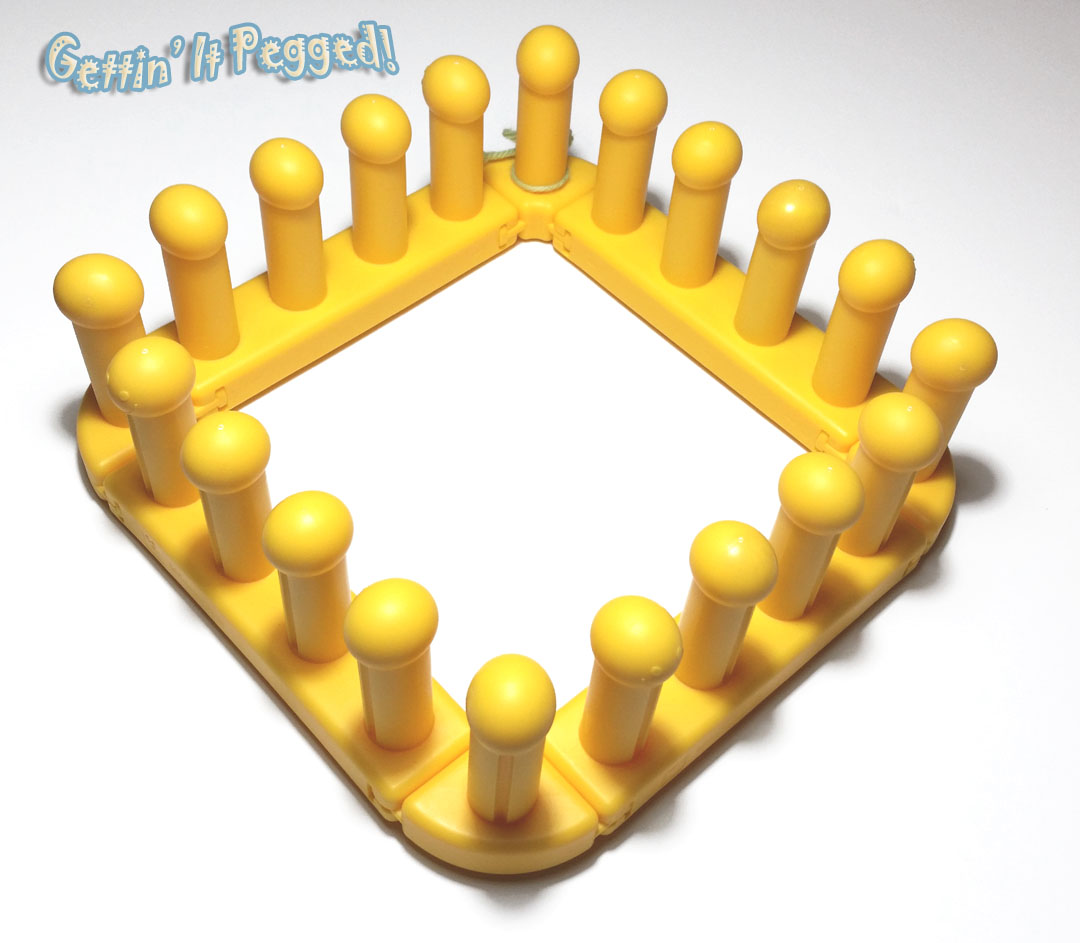
Okay!!! Now that I’ve caught you all up on the fun new loom on the market… here’s the scoop on Zippy’s brand spankin’ new buddy: Zippy Corners! 😀
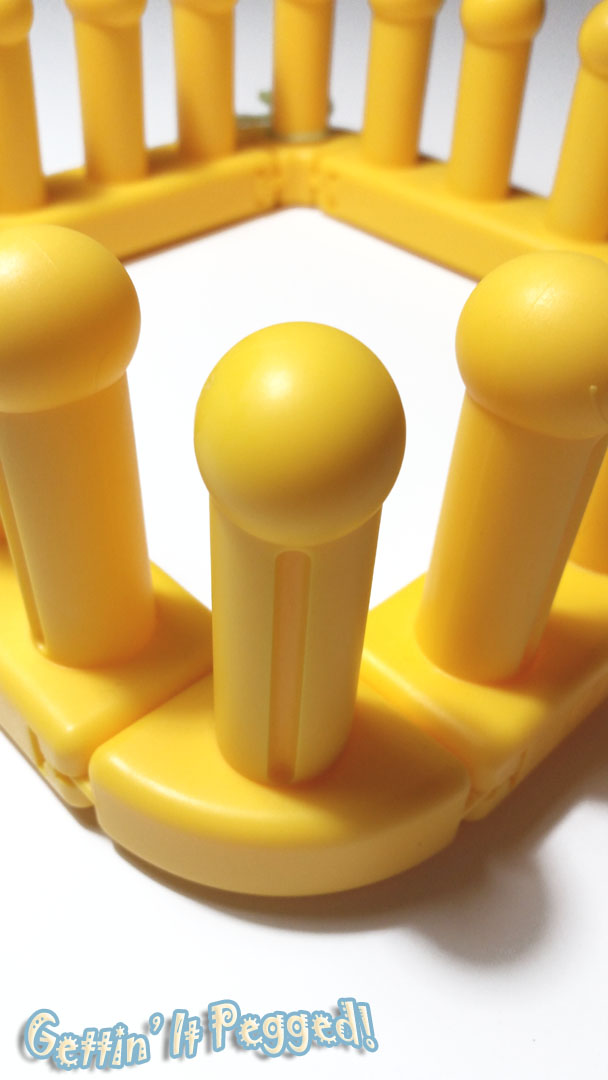
With these added to your looms, you can knit extra chunky projects in the round! “Hello, Slouchy Hats, lol!” It also works as a great stabilizer to help you knit those larger projects where many Zippys are needed at once. You could add as many Zippys in between the corners as you like to make those extra cozy afghans. 🙂 (Check this out to see what I mean!)
To help you get to know Zippy’s new buddies too, (they really are very spunky little spikes and definitely worth knowing, haha!) I’ve done not one, but TWO free patterns for you to enjoy this chilly fall and winter season, and the KB Design Team has been working together to release several more! My first pattern you will find at the KB Blog here. It is the absolutely gorgeous (it’s made from delicious Malabrigo Rasta yarn, so it couldn’t be anything but, in my mind, lol) Amethyst Falls Hooded Cowl, with my Emily as the beautiful model. ❤
Follow these links to see more goodies from our team:
Isela Phelps has a few goodies here!
Denise Layman has something fun here!
Renita Harvey has a bit ‘o holiday fun!
And Jenny Stark has something terrific for you, too!
My second project you can find below! 🙂
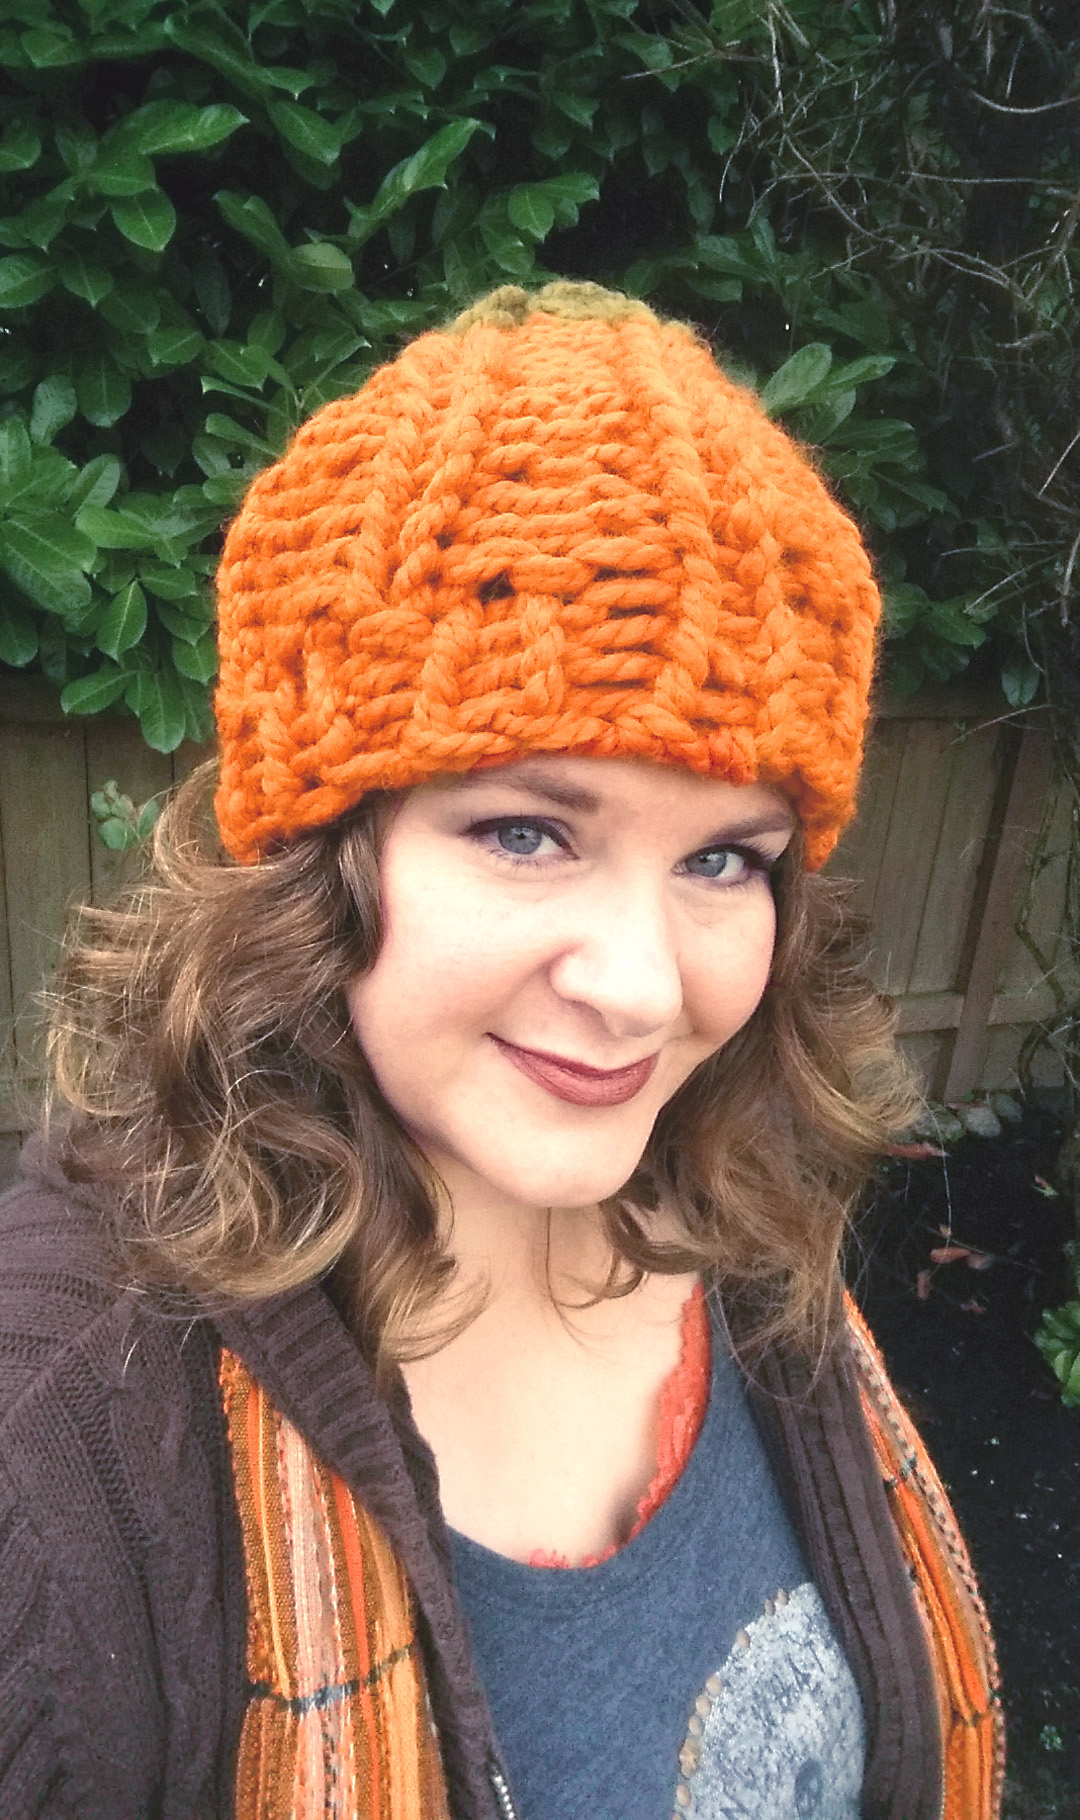
Zippy Pumpkin Slouch
This super fun slouchy is made using Zippy Looms and the new Zippy Corners. The techniques used were based after my original Punkin’ Head Hats that were released a couple years ago via a Loom-along Video Tutorial. You can refer to this video to see some of the techniques employed, especially for using one peg for two stitches to make a fuller hat on fewer pegs. 😉
 Knitting loom: 4 Zippy Looms with 4 Zippy Corners.
Yarn: Wool Ease Thick & Quick (108 yrds per skein), super bulky #6 weight: 1 skein for pumpkin (in color: pumpkin) and 1/5 skein for stem/leaf (in color: cilantro)
Notions: loom tool, 6mm crochet hook (for cast on and help with possible missed stitches, etc), one peg marker to mark first peg (can be tied scrap yarn or rubber band), scissors, yarn needle, row counter.
Gauge: 4 stitches and 8 rows per 4”.
Finished Measurements:
Circumference: 20” (but stretches quite far beyond this).
Length: 9.5″ without stem, stem adds 2″.
Skills Needed: Knit, Purl, Half Hitch CO (shown in video), Knit 2 Together, Chain CO and Basic BO.
Abbreviations:

CO: cast on
K: true knit stitch
P: purl stitch
KO: knit off
St(s): stitches
WY: working yarn
rep: repeat
HHCO: half hitch cast on
K2tog: knit two sts together
BO: Bind off
Pattern Notes:
Entire pattern is worked with 2 strands of yarn held as 1.
This project is worked so that it will be turned inside out at the end of the pattern and this will be the new outside of the hat.
Pattern Instructions:
 Set looms to 20 pegs in the round. CO to all pegs, beginning on a corner peg to use as peg one.
Rounds 1-4: *k, p, rep from *
Round 5: (broken down peg by peg)
- Peg 1: pull WY through loop as if to purl a st, but instead, twist the newly created loop in the direction of a HH (so that the WY comes from under the twist) and place this loop temporarily onto peg 20. Knit the st on peg 1. Move the HH back to peg 1. These 2 loops will count as 2 knits in st pattern.
- Pegs 2-5: p, k,k, p
- Pegs 6-20: repeat the instructions for pegs 1-5 until end of row.
Rounds 6-14: Work in following pattern:
*k, k, p, rep from *. (Note: treat 2 loops on corner pegs as 2 separate sts in pattern. Move them as needed to knit them in proper order. This is where watching the video tutorial mentioned above might come in handy. 😉 )
Round 15: *K2tog (KO both loops on corner pegs as one), p, k, k, p, rep from * to end of round.
Rounds 16 & 17: Continue working in pattern, but use green to work all purls sts, carrying both colors of WYs across the front of the stitches when not in use (lift loop off peg and carry yarn in front of work and behind peg, replace loop onto peg.)
Rounds 18-20: Cut orange yarn. Continue working in pattern, but use only green for all sts.
Wrap WY 1.5 times around the loom and cut. Thread through all knit sts in the round, release them from their pegs, and pull snugly. Place a piece of scrap yarn or a removable stitch marker at this point in the BO.
Thread through all purl sts in a second round, release them from their pegs, but don’t pull them yet! At the place where your marker is, pull the first BO round as tight as it will go, then pull the 2nd round snugly at the tail end. Knot in place.
Turn the work inside out. This is the new outside of the hat.
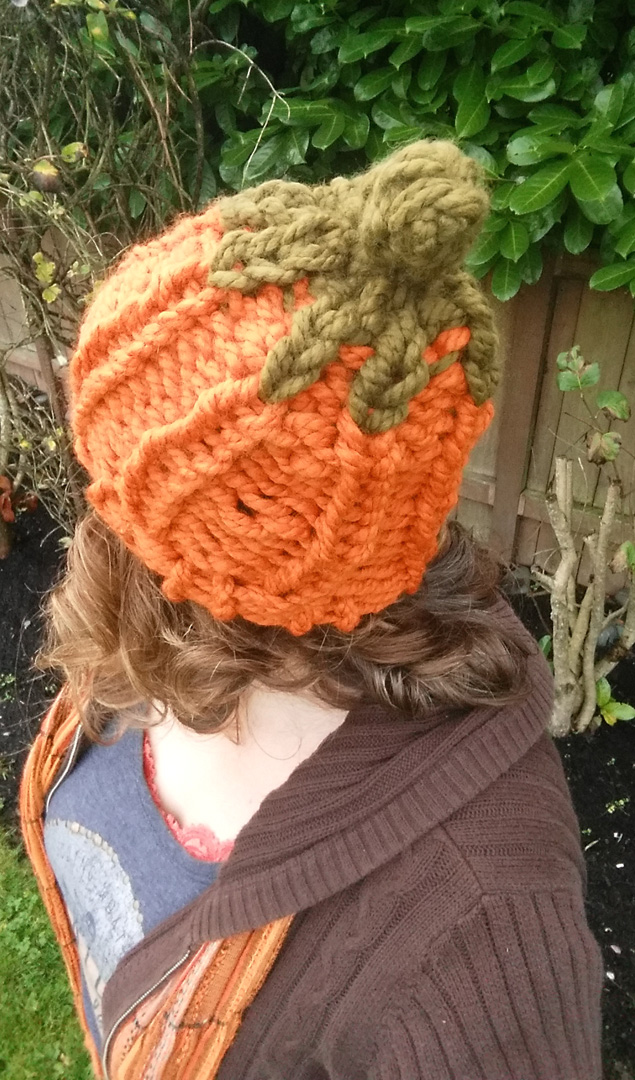
 Stem
Stem
CO to only 5 pegs of your loom to work as a panel.
Rows 1-5: K all pegs snugly.
BBO all sts, leaving enough tail to seam stem closed and to stitch it onto the top of the hat.
Pull all ends to the inside of the hat and weave in.
Now go find a pumpkin patch or a good ol’ fashioned corn maze and have fun! 😀


This is so darling, Bethany!
Pingback: Another day (or is it year, lol), another pattern :) | Gettin' It Pegged…Loom Knitter's Clique
Pingback: ≫ ¡Zippy Looms dobla una esquina! |
Pingback: Loom Knitting Patterns - My Recommendations - SHOP MEGA